


 With the days of rain we have been experiencing, I thought it was the perfect time to do the cloud activity I have seen posted on Pinterest from a few different places. For this experiment, you will need at least shaving cream, blue colored water, a clear container filled 2/3 with water, and one pipette. We have some extra materials because I planned on transitioning this activity into an art activity, using the pipettes and colored water to color coffee filters and paper towels to make butterflies, but E wasn't into the art portion, so we scrapped that.
  We started by talking about how the sky looked, sunny or cloudy, on this rainy day. Once we observed it was cloudy, we made our own cloud of shaving cream on the water already in the clear container. E then used those small motor skills to transfer the blue water (rain) into the cloud. We talked about how clouds are made of water, and how when the clouds get too heavy, it starts to rain.
 Eventually, as E continued adding the heavy water to the cloud, it started to rain in the jar. What a simple and fun lesson in weather.
  Pinterest pages have been filled with the great idea of using an egg carton as a place to collect items on a spring scavenger hunt. So, I drew up a sheet of items that I thought we would be able to find on our walk through the park. I went over the items on the sheet (my drawings aren't the best) with E, and off we went to look for: a brown leaf, a rock, a stick, a yellow flower, a feather, a brown weed, green grass, a green leaf, a piece of bark or mulch, berries, a purple flower, and a pine needle.
 Going on this walk was a great way to talk about the big ideas of the unit such as the grass growing green, the trees budding, bugs reappearing, etc. I would occasionally review the items on the list when they would come into view. E did a great job of collecting and exploring.
 We went through an old "barn" at the park, and E paused for a pic by the fence. Spring is definitely in the air in this pic!
 Here E is getting a brown leaf to put into her egg carton from a tree that didn't drop its leaves the fall before. By the end of the walk, we found 10 of 12 items, and we had a great time in the process!
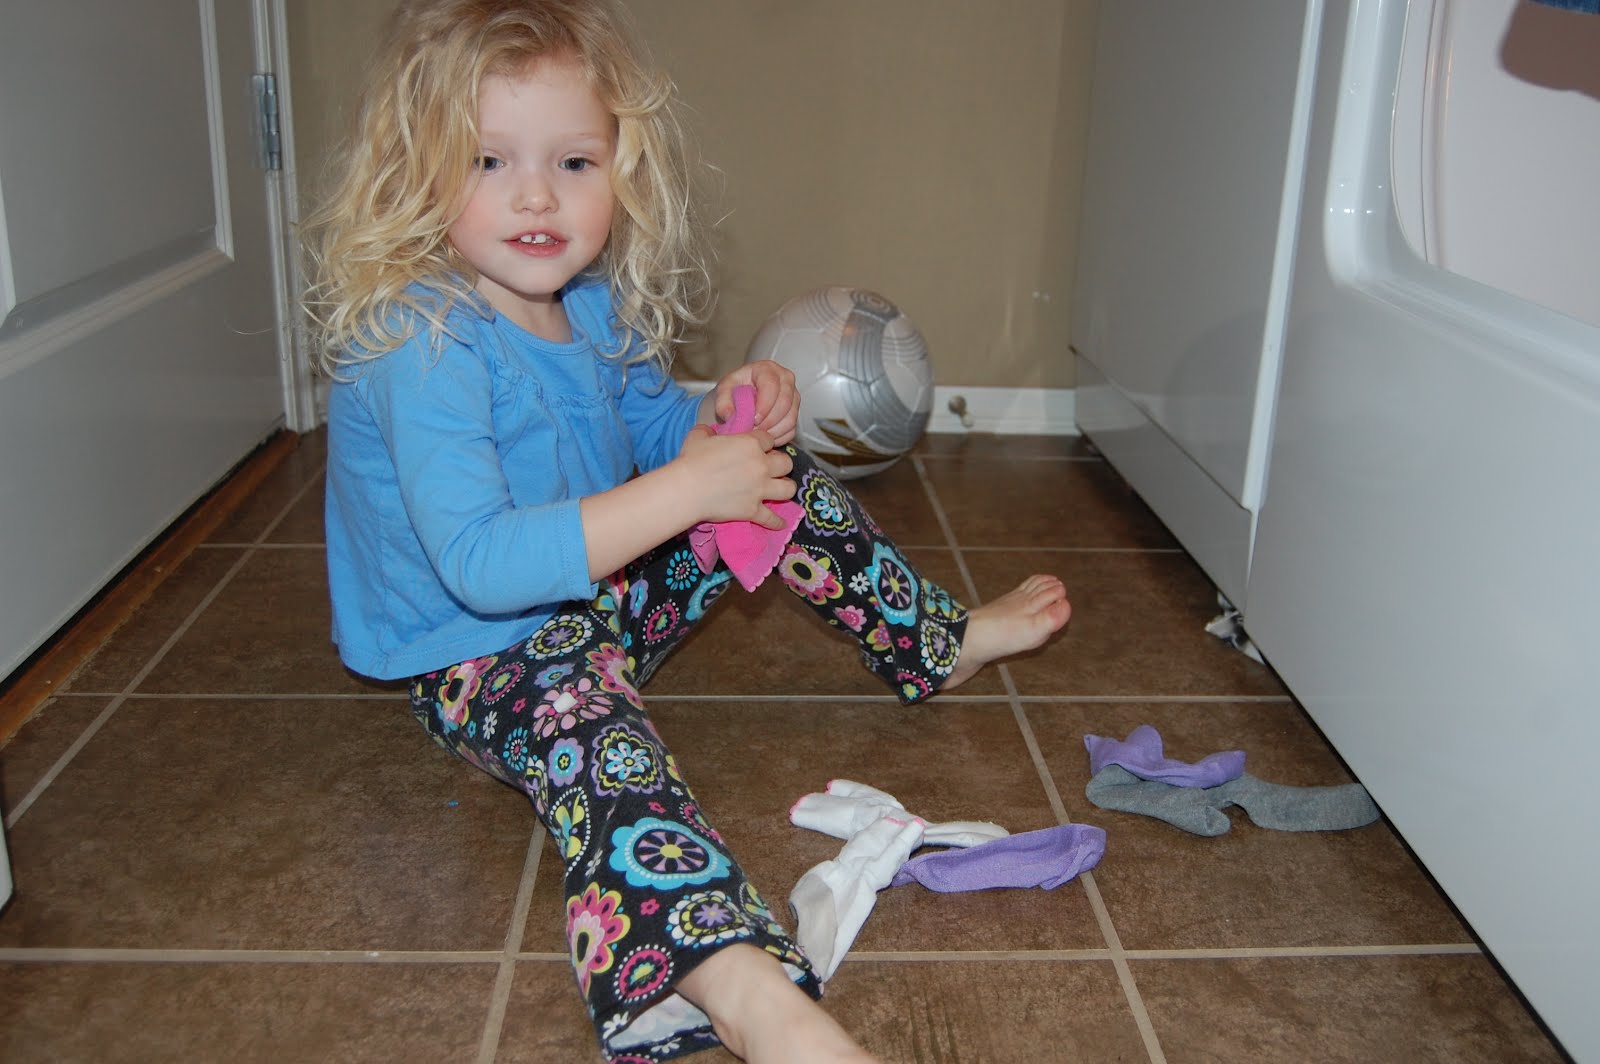 E has been helping me do laundry for almost a year now. In our previous home, there was a counter where she was able to stand to help to dump the soap and load clothes into the washing machine. Once we moved and no longer have the counter, her help has been transferring clothes from the washer to the dryer and, more recently, helping to sort her underwear from socks, match her socks together, and put those items into the correct drawers. Since I hate matching socks, I love that she is able to really help! And, it is even a great activity to build those kindergarten readiness skills in the sense that she is looking for patterns, using those small motor skills, and paying attention to the physical properties of her clothes. I know there are probably people out there who think she is too young to be expected to help like this, but if you saw the look on her face when she accomplishes this task, you would be a believer, too!
 E's best friend and cousin is turning four in a couple of weeks, and I saw the idea of making a birthday cake with a hand print on Pinterest. I thought having E make a card for her using the hand print would be a fun activity that uses the sense of touch. E picked out all of the colors for the different parts (the pink and blue make up the cake, the white is for the candles, and the flames on the candles are a mixture of yellow and orange), and I painted her hands using round stencil brushes and regular paint brushes. There was a lot of giggling from the tickling the brushng caused on her hands. We left the thumb blank for this activity so that the palm would be the cake and the four fingers would be the four candles on the cake. We made two prints (which I didn't take a picture of :().
  After the prints dried, E decorated around the handprint with sticker fours. She then put happy birthday stickers and balloons on the inside. I helped her to write her cousin's name and her name on the inside of the card. Finally, she practiced her letter identification by using letter stickers to label the outside of the card.
 I cut out the second print to make the tag for the package. The prints came out very cute, and E loved working on this project for her best friend.
 Like most toddlers, E loves music and instruments. I thought incorporating these instruments into a listening activity would be both fun and challenging for E. I pulled out about seven of her instruments with varying sounds. I took a picture on the iPad to act as a reference for later in the activity, then I let E play around with the instruments to make sure she was familiar with the unique sounds that each one makes.
  Then, I took the instruments over behind the puppet theater, leaving E with the picture of the instruments on the iPad.
 From behind the puppet theater, I played each instrument, one at a time, and had E identify what I was playing. Being able to look at the iPad pictures was a very helpful step that I would suggest to not leave out. One thing I would do differently if I did this activity again would be to make sure to review the names of each of the instruments we were using. There was a lot of "the shakey thing" and "the whistle." I missed an opportunity to expand on vocabulary on the front end of the activity. In the end, though, E enjoyed this simple activity!
 While shopping at a dollar store (one of my favorite places to find materials to use with E), I found this plastic dish with two compartments (a dog or cat bowl, I believe), which I thought would be a perfect container to have on hand to do sorting activities. So, I created this activity to work on feeling different textures of ribbon and twine. I knew I wanted to use the materials in this activity to do a measurement activity later on, so I cut the ribbon and twine to a short length and a long length for that activity.
 From my own childhood, I remember doing activities that focused on using the sense of touch to identify objects. I was pretty sure that E would struggle if I simply put objects in a box and had her identify them with nothing to reference, so instead, I picked pairs of objects. That way, she could see one of the items on the table while she looked for the matching item in the box.
  I cut out some hand/arm holes in an old shoebox for E to use. When we started doing the activity, E really wanted to look into the holes instead of simply use her hands. If I were to start this project over again, I would probably try to attach some material to cover the holes to make it difficult to see inside. E enjoyed this activity enough that she asked to do it the following day. It was a good way for her to rely on her sense of touch to help her to identify objects!
  On Pinterest, I saw (possibly pinned?) filling balloons with play dough as an alternative (and less messy) sensory activity. They reminded me of those original stress balls that were filled with a similar type substance. I loved them when I was a kid! So, I thought it would be cool to try to make balloons filled with various substances to continue working on the sense of touch and discussion of texture.
  We were then getting ready to go to bath time, so I thought it would be fun to add on another element by asking about what ones she thought would sink or float. We made predictions in the journal, as well. She loved playing with them in the bath as much or more as she loved playing with them on the table! So, I guess the struggles I had with filling the balloons was well worth the outcome of having fun and learning with this activity!
 My goal for this sensory bin is to appeal to as many of the senses as possible, which I think this one does. If you are unfamiliar with sensory bins, please check out my first post on sensory bins that gives a little more background.
  The two most popular items in this bin are definitely the hand warmer and the reusable ice cubes. E spent a lot of time trying to warm up and cool down the other items in the bin. She wanted me to sit down to play, and I did some things she hadn't come up with like putting the spaghetti pieces into the foam balls, "drawing" with the yarn on the sandpaper, making hats with the toilet paper, etc. I can't wait to get it out again to see what she comes up with!
 All over Pinterest, there have been crystal growing recipes and methods. We did ours as part of exploring what the heart symbolizes. We also did it in conjunction with exploring the states of matter (liquid, solid, and gas) since boiling the water is one of the parts of getting this project to work.
We used the recipe from http://chemistry.about.com/cs/howtos/ht/boraxsnowflake.htm. We began by shaping pipe cleaners into hearts. I asked E to get two red pipe cleaners from the box, and she grabbed a metallic one and a regular one. I'm not sure that affected the outcome of the experiment or not (using the metallic one), but I didn't have the heart to tell her to put it back. She also helped me get the yarn to tie the hearts onto the popsicle stick we used to hang the hearts across the jar.

 We finally got the mixture all ready to go, and set it up to see the crystals form throughout the day. Unfortunately, about five hours in, we still didn't see any crystals. So, I added a little more Borax. The crystals started forming almost immediately.
 This is the final outcome of the project. Although I enjoyed the process, especially talking about the states of matter, I can't say I would do this again. It was relatively boring and lacked a lot of hands-on interest for an almost three-year-old child.
 I love naps. I love taking naps, I love when E takes naps, and I especially love days we take naps together. Most days, though, I use E's nap time to accomplish something, and lately it seems that when E decides to come out from her nap, I am right in the middle of finishing something (a blog post, perhaps??). So, I thought I would try to get into the habit of getting an activity out on her table ready to go for when she gets up from her nap. The activity will need to be something I can quickly explain so I can use the few minutes she does the activity to wrap up whatever I am working on.


 Those curious eyes say it all! What a fun exploration of color, matter transformation, and the senses! And, the best news is that we still have more cubes in the freezer for the next bath!
 Sensory bin is a term I never heard until a few weeks ago, and now, I am planning about five or six of them in my head for the next units we are going to do. You can find hundreds of resources on line for sensory bins, and I have read through the majority of those. The main points of what I learned are that a sensory bin should be a self-contained area for a child who has outgrown the need to put every object in his or her mouth to have free play focusing on textures, fine-motor skills, exploration of objects, and being creative.
